Metal Fab Follies, Making Some Easy Spacers.
I have changed the layout of the blog if you hadn't noticed already. If you like it, hate it, or could care less, let me know by commenting or contacting me from my "contact me" page. Now on to the post!
I was looking forward to the work for this post with anticipation as it would involve finally getting a chance to do some more metal work. I have only done a couple of fabrication projects to the bike as I want to keep the bike closer to stock so that I can fit into the production type race classes. While it would be nice to try my hand a making a tube frame trellis chassis for the Ninjette's 250, that would not only put me into the Formula classes, but would also take me several years to complete. The limited fabrication work I need to do for this project will have to suffice. When I was deleting the kickstand I noticed that the kickstand bracket formed a spacer for the left side lower fairing mount. In order to get that mount back in place, I'd have to make a new spacer.
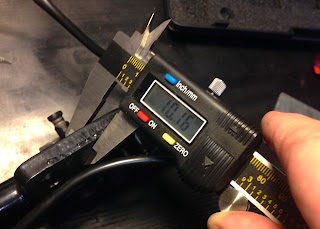
I measured the thickness of my kickstand and it measured up at a little over 10 millimeters. Now I had to find some metal stock in my bin of odds and ends that I keep around for projects such as this.

I had a few pieces of material and the nearest I could get was a little over 9 millimeters with a combination of one thick and one thin piece of metal. The challenge now will be to drill both pieces with the holes properly aligned to each other and to the fairing mount bracket.

I used the kickstand to layout the holes on both pieces of metal. I wanted to make the fewest number of cuts as possible and found that the short side of each piece of metal matched each other and was just big enough to fit the kickstand mount area on the Ninja's frame.

After drilling out the first hole with a small pilot hole sized bit, I stepped up the bit size to fit the kickstand mount bolts. Here is another action shot of the cheap drill press in action. For the money I paid this tool has paid for itself many times over.

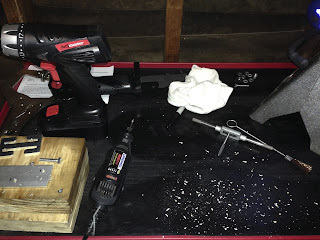
I made quite the mess in doing all of this. I tried to take my time, but got a little impatient. The end result was a bench full of metal chips, tools everywhere and two sets of newly drilled holes that were not lined up. I know I can do better than this, but my metal fab skills show that I am out of practice.


After about 20 minutes of filing with my Japanese dollar store rat tail file, it all fit. You can see that I bolted the pieces together with some spare nuts and bolts from my spares stash. If you need nuts and bolts for projects I recommend going to your local auto parts store and picking up a kit. They come in grade 5 or better and in a little labeled organizer. The ones I get have the common sizes needed in either standard or metric fasteners. The cost is MUCH better than buying them in the small quantities you usually find in the big hardware stores.

After the holes were fixed I mounted everything in the vise again and broke out the grinder with the cutoff wheel. I put it all on the workbench and used my shop apron as a back guard to catch the sparks. The cuts went butter smooth as I use a good cutoff wheel. Be sure to use the right safety gear and make sure the sparks won't fly into and area with flammable fluids nearby.

Even though the spacers don't look perfect, they work. The lower fairing mount lined up perfectly for my cake pan belly pan. I bypassed the kickstand switch on the wiring harness so the bike thinks that the kickstand is always up. I have one more fabrication project to do before I slowly go through the bike front to back and check all of my work. I need to check torque specs, safety wire, fluid levels and a hundred other things before taking the bike to its first track session. Things are moving in the right direction. Soon I will be doing the fun staff like paint and testing. I can't wait!
Blue
I was looking forward to the work for this post with anticipation as it would involve finally getting a chance to do some more metal work. I have only done a couple of fabrication projects to the bike as I want to keep the bike closer to stock so that I can fit into the production type race classes. While it would be nice to try my hand a making a tube frame trellis chassis for the Ninjette's 250, that would not only put me into the Formula classes, but would also take me several years to complete. The limited fabrication work I need to do for this project will have to suffice. When I was deleting the kickstand I noticed that the kickstand bracket formed a spacer for the left side lower fairing mount. In order to get that mount back in place, I'd have to make a new spacer.

I measured the thickness of my kickstand and it measured up at a little over 10 millimeters. Now I had to find some metal stock in my bin of odds and ends that I keep around for projects such as this.

I had a few pieces of material and the nearest I could get was a little over 9 millimeters with a combination of one thick and one thin piece of metal. The challenge now will be to drill both pieces with the holes properly aligned to each other and to the fairing mount bracket.

I used the kickstand to layout the holes on both pieces of metal. I wanted to make the fewest number of cuts as possible and found that the short side of each piece of metal matched each other and was just big enough to fit the kickstand mount area on the Ninja's frame.

After drilling out the first hole with a small pilot hole sized bit, I stepped up the bit size to fit the kickstand mount bolts. Here is another action shot of the cheap drill press in action. For the money I paid this tool has paid for itself many times over.

I made quite the mess in doing all of this. I tried to take my time, but got a little impatient. The end result was a bench full of metal chips, tools everywhere and two sets of newly drilled holes that were not lined up. I know I can do better than this, but my metal fab skills show that I am out of practice.

To pay for my lack of patience I had to break out the hand tools. The two pieces of metal were different materials. One was aluminum and one was steel. The hole mis-alignment meant that I had to file both. The aluminum went quickly, but the steel was a little more persistent. The message here is to take your time with the power tools as it will pay you back with a more precise end product and less time spent with manual labor and hand tools.

After about 20 minutes of filing with my Japanese dollar store rat tail file, it all fit. You can see that I bolted the pieces together with some spare nuts and bolts from my spares stash. If you need nuts and bolts for projects I recommend going to your local auto parts store and picking up a kit. They come in grade 5 or better and in a little labeled organizer. The ones I get have the common sizes needed in either standard or metric fasteners. The cost is MUCH better than buying them in the small quantities you usually find in the big hardware stores.

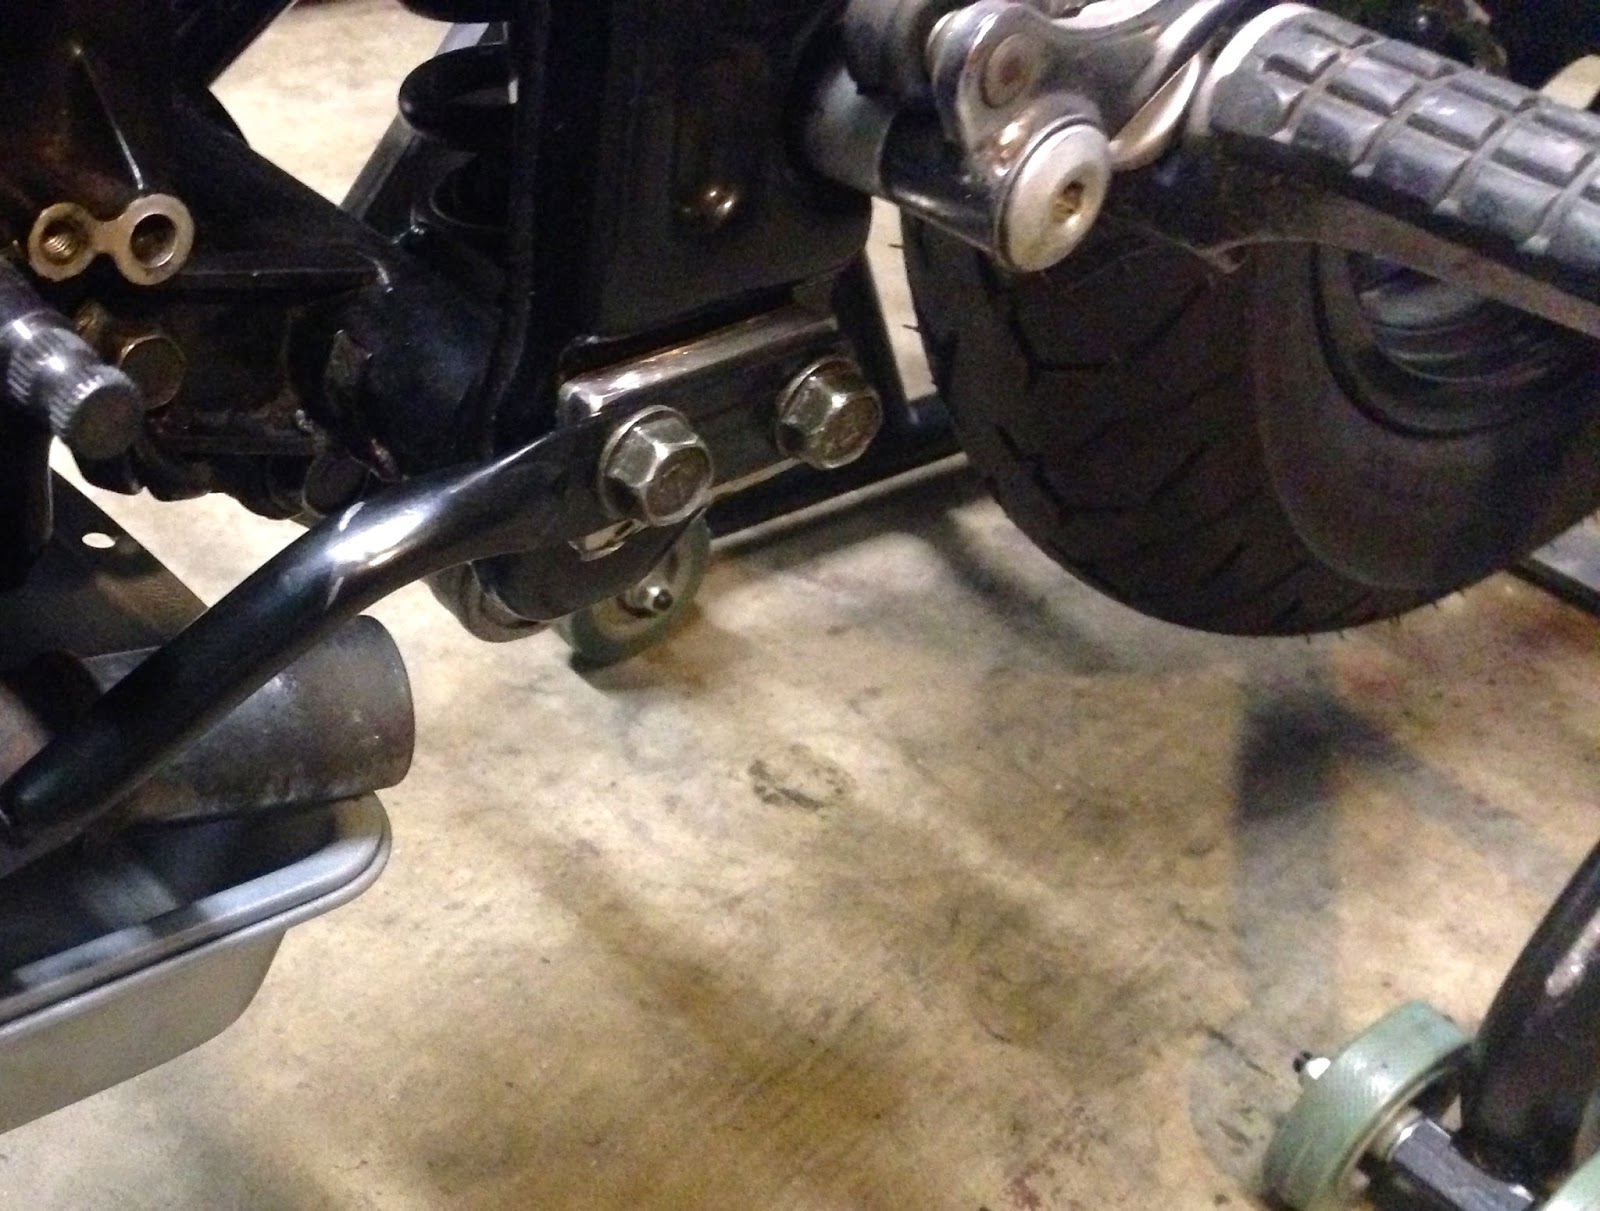
Even though the spacers don't look perfect, they work. The lower fairing mount lined up perfectly for my cake pan belly pan. I bypassed the kickstand switch on the wiring harness so the bike thinks that the kickstand is always up. I have one more fabrication project to do before I slowly go through the bike front to back and check all of my work. I need to check torque specs, safety wire, fluid levels and a hundred other things before taking the bike to its first track session. Things are moving in the right direction. Soon I will be doing the fun staff like paint and testing. I can't wait!
Blue
Comments
Post a Comment
Thanks for your comments and for following My Motorbike Obsessions!